Easter, Craft
DIY Treat Filled Easter Bunnies
Nothing says Easter quite like a few cute little bunnies, especially when those bunnies are packed to the brim with eggs!
![featured image for [object Object]](/_next/image?url=https%3A%2F%2Fimages.prismic.io%2Ftrs-storefront%2Fdf9ba332-8f80-4205-b45a-ada9dfd23abd_DIY%2BTreat%2Bfilled%2Beaster%2Bbunnies1.png%3Fauto%3Dcompress%2Cformat&w=3840&q=75)
The Reject Shop
Last updated
31 Jul 2023
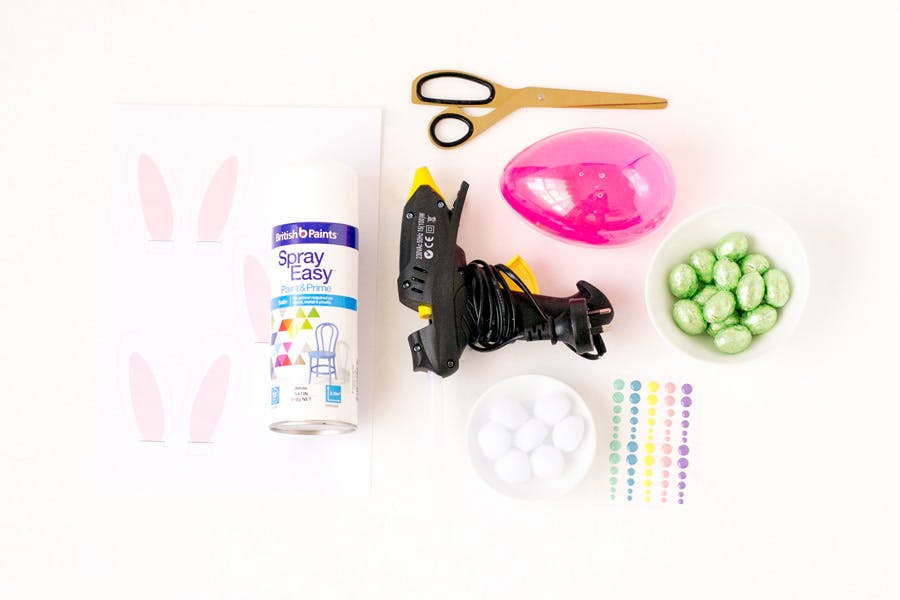
Materials
- Jumbo plastic eggs from The Reject Shop
- White spray paint
- Printable bunny ear file (bunny-ear-template)
- White card
- Scissors from The Reject Shop
- White pom poms from The Reject Shop
- Hot glue and glue gun from The Reject Shop
- Enamel sticker embellishments in black and pink from The Reject Shop
- Easter eggs or assorted chocolate from The Reject Shop
(Other items in the photos like the shredded paper, jars and Easter decorations are all from The Reject Shop)
Step 1
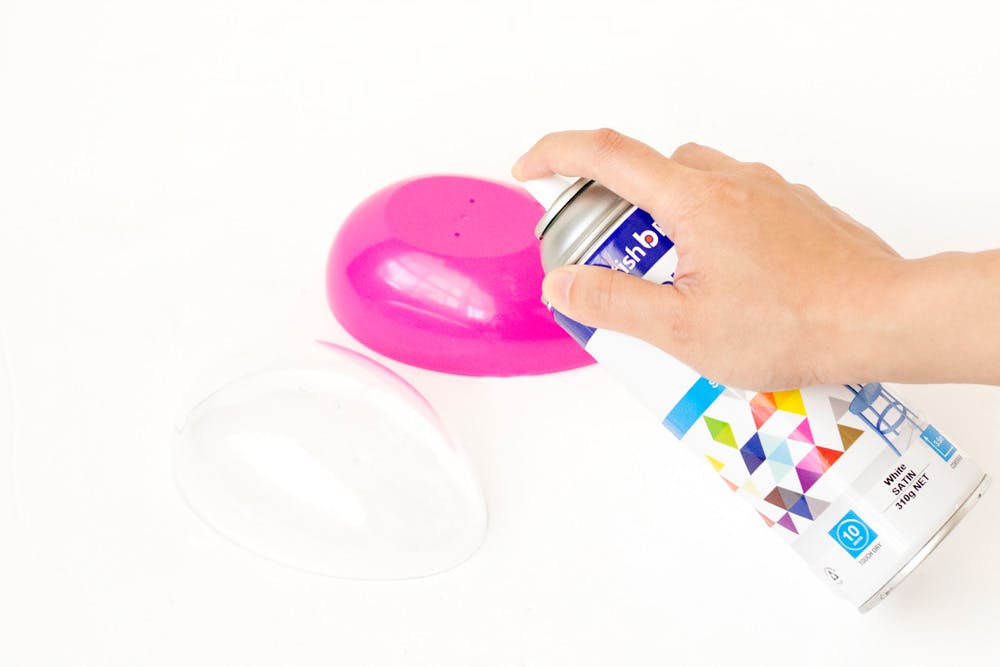
Separate your jumbo plastic eggs into 2 halves and spray paint both halves white. Depending on the brand of spray paint you’re using, you may need to give the eggs a coat of primer first to ensure the paint sticks properly (the instructions on the spray paint can should let you know how to prep plastic for painting).
Step 2
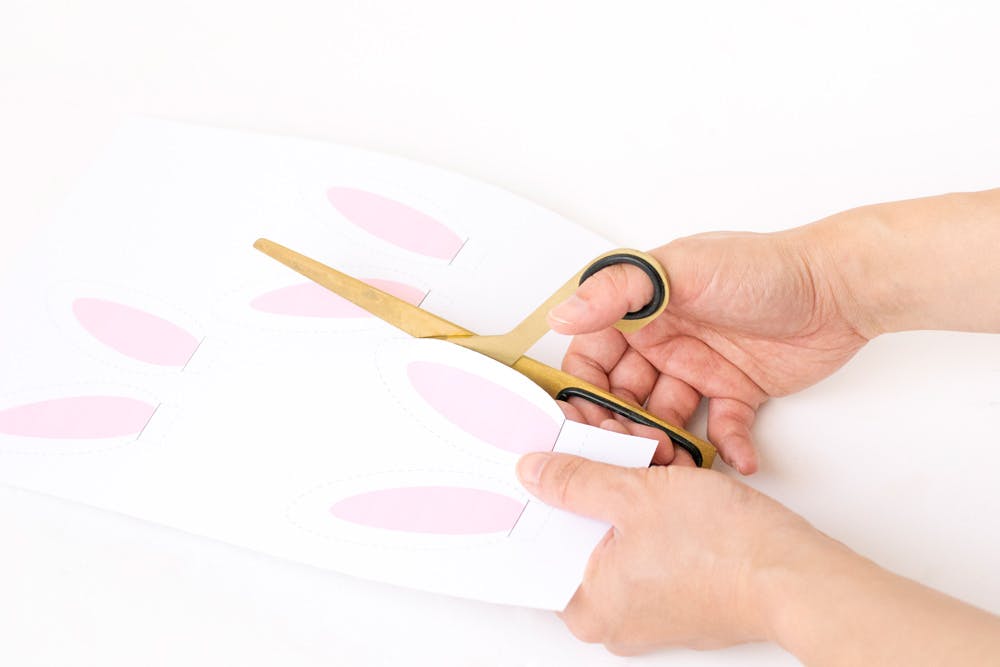
Print out the bunny ear file onto white cardboard and cut out the ears using the dashed line as a guide.
Step 3
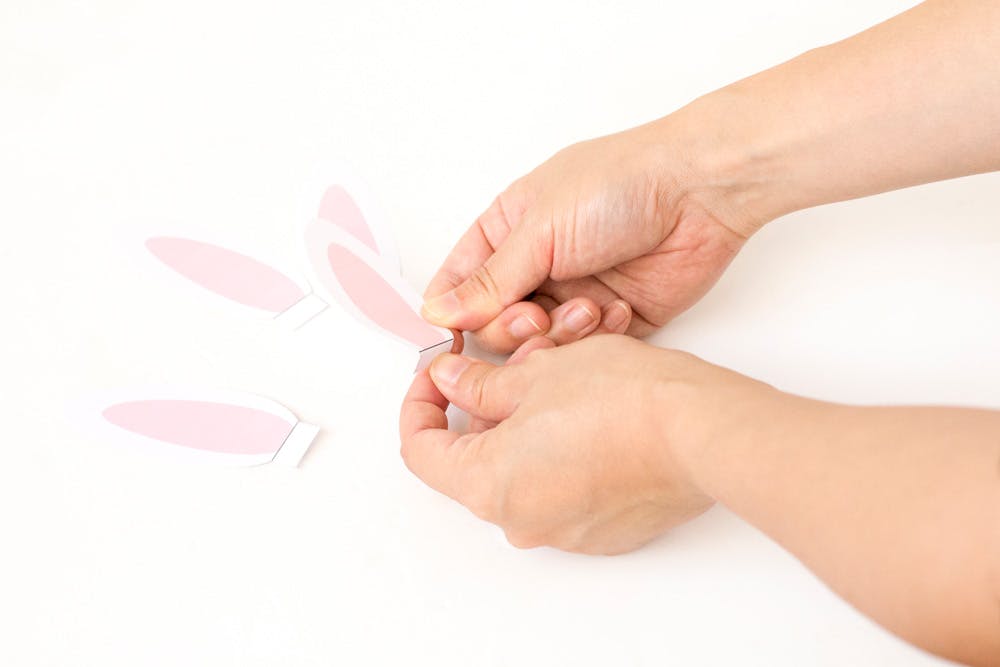
Create tabs on the ears by folding each one towards the bottom along the thin black line.
Step 4
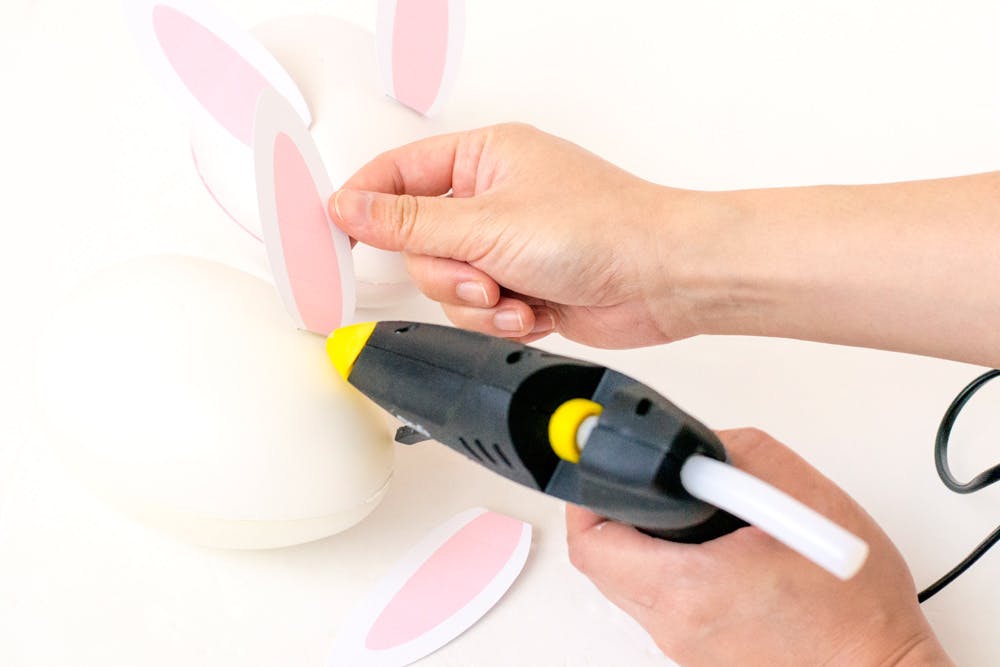
Using hot glue, stick the ears to your spray-painted jumbo egg towards the narrow end.
Step 5
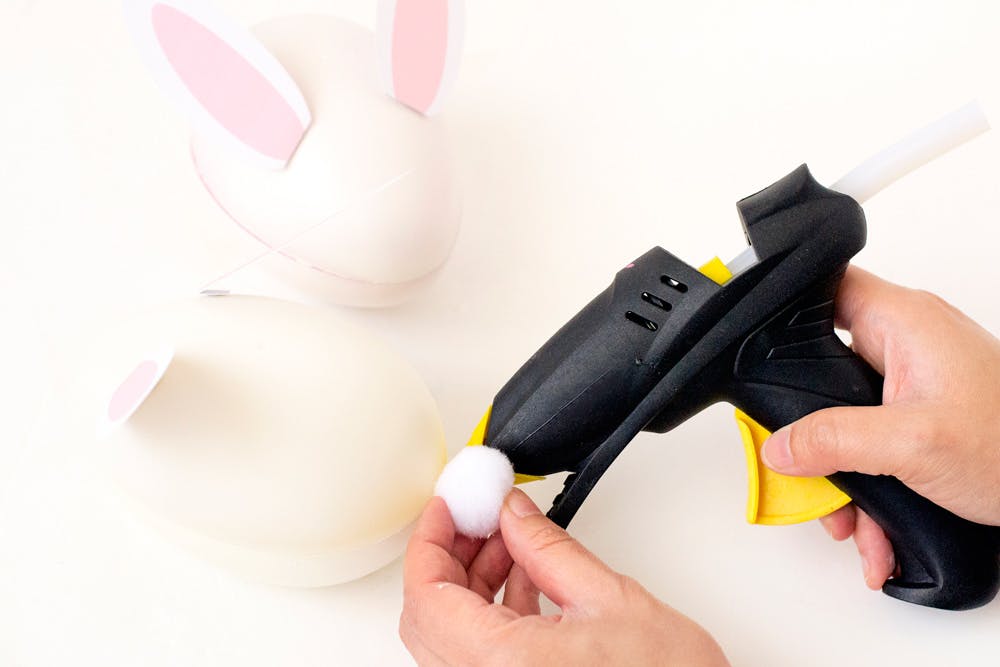
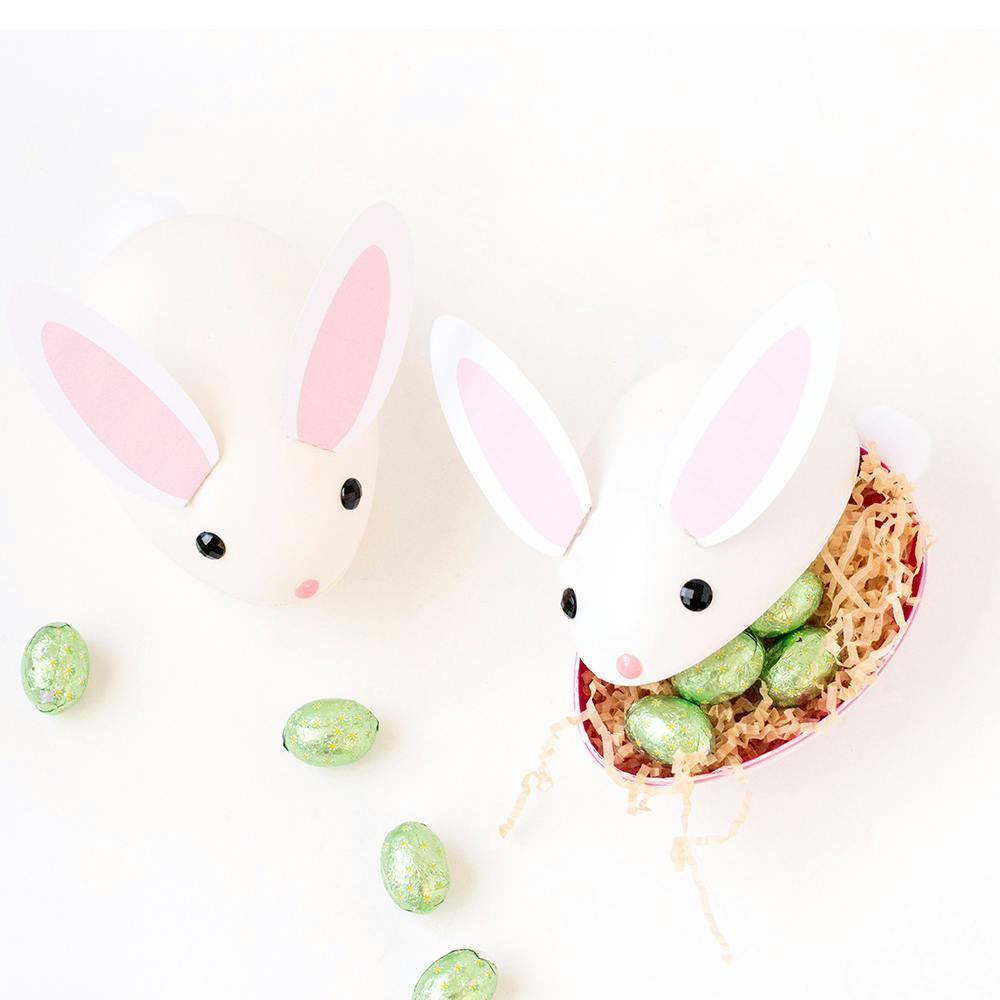
Stick a pom pom tail to the back of your jumbo egg with hot glue.
Step 6
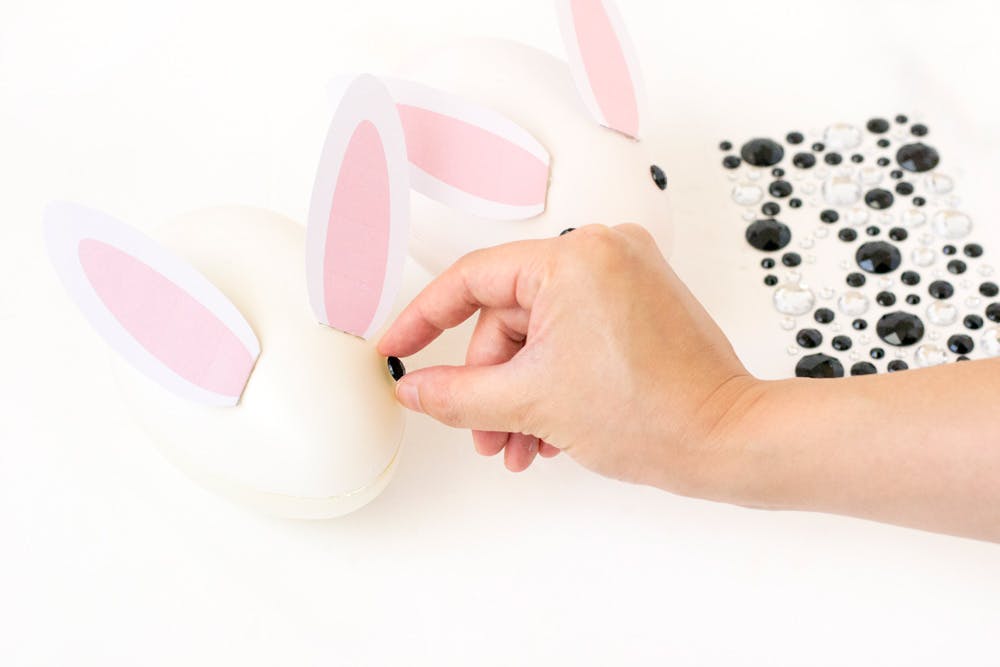
Stick two black enamel dots on the bunny for eyes, and one pink enamel dot for a nose.
Step 7
Lastly, open your bunny along the middle and insert some of your favourite Easter treats.
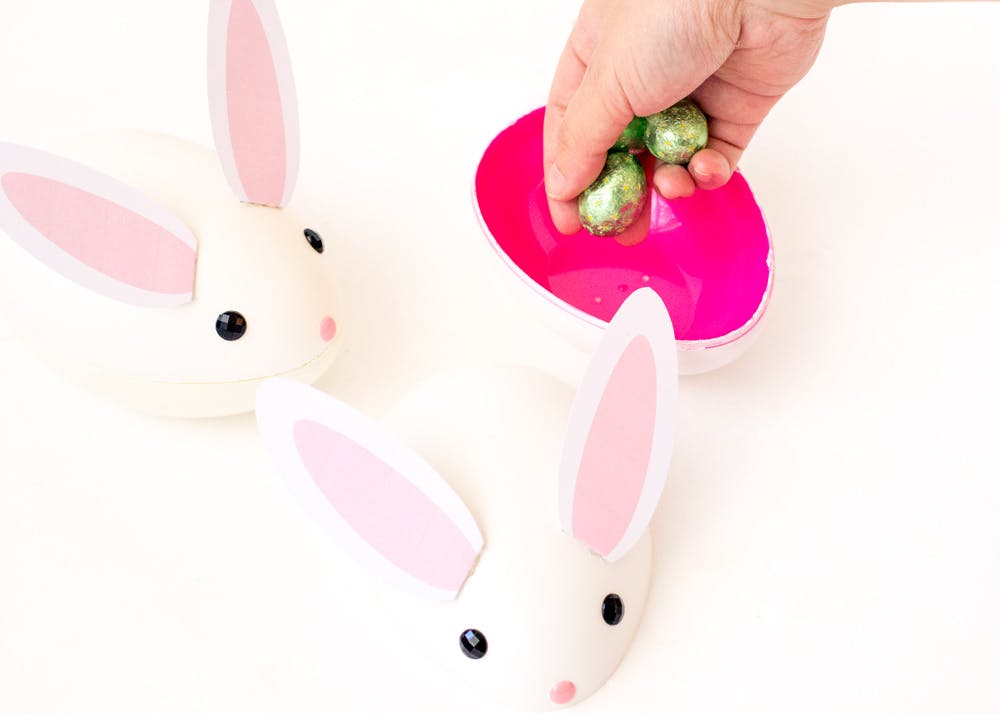
Once your bunnies are all filled up, they’re ready to hand out to friends and family!
You can print your bunny ears from here: bunny-ear-template.
Happy Easter!
This post is sponsored by The Reject Shop, all images, opinions and words are from Make and Tell.
Sign up to receive exclusive offers, VIP invites and all our hints & tips
